To install Virtual Contact Center Bundle:
- Log in to NetSuite website as an administrator.
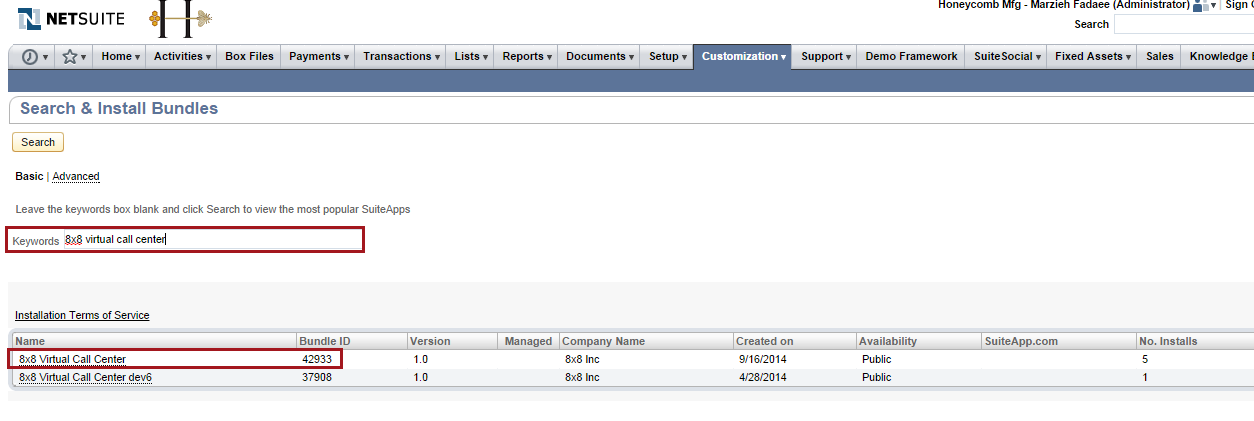
- Navigate to Customizations > SuiteBundler > Search & Install Bundles.
- Type 8x8 Virtual Call Center and click Search.
-
Click 8x8 Virtual Call Center from the list.
A new page opens containing the bundle details.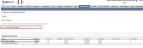
-
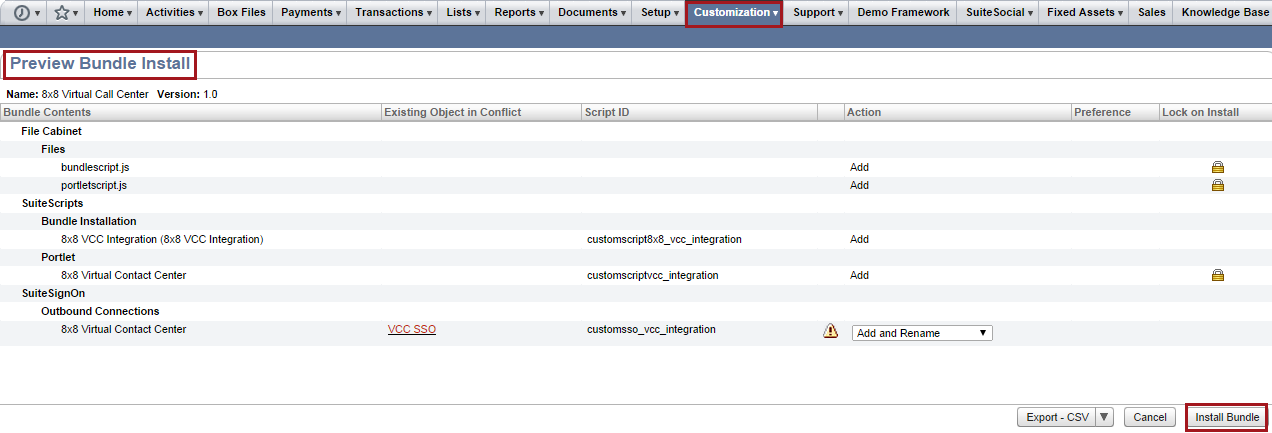
Click Install.
The Preview Bundle Install page opens.
- Click Install Bundle.
-
Click OK at the prompt.
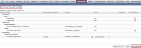
A page opens with a list of installed bundles. The new bundle status is pending.
-
Refresh the page to see the check mark under 8x8 Virtual Call Center status.